How to Create a 90-Day Social Media Content Calendar
Staring at a blank content calendar is one of the most paralyzing feelings for any business owner. You know you need to post consistently, but the pressure to come up with fresh ideas every single day can lead to burnout, rushed content, and a disjointed brand voice. The solution isn’t to post more—it’s to plan smarter. A 90-day content calendar shifts your strategy from reactive scrambling to proactive storytelling. It gives you the freedom to batch-create, align content with business goals, and actually enjoy the process of connecting with your audience. In this guide, I’ll walk you through exactly how to create a 90 day content calendar that keeps you consistent, reduces stress, and drives real results for your social media channels.
Why a 90-Day Calendar is the Sweet Spot for Social Media Success
Planning for three months might feel daunting, but it’s the ideal timeframe for balancing flexibility with strategic depth. Weekly or monthly calendars often lead to short-term thinking—you’re just filling slots. A quarterly view forces you to consider bigger themes, product launches, and seasonal trends.
Here’s why the 90-day window works so well:
- Aligns with business cycles: Most products, services, or campaigns have a 90-day lifecycle. You can map content to support specific launches, promotions, or educational series.
- Allows for batch creation: When you know exactly what you’re posting for the next 12 weeks, you can film, write, and design everything in a few dedicated days, saving hours of daily decision fatigue.
- Provides room for iteration: A 90-day plan isn’t set in stone. You can review performance after 30 days and adjust the remaining 60 without starting from scratch.
- Builds narrative arcs: Instead of one-off posts, you can create multi-week storylines, like “How to Build a Brand in 90 Days” or “30 Days of Client Wins.”
If you’re ready to stop guessing and start executing, learning how to create a 90 day content calendar is the single most impactful change you can make to your social media strategy.
Step 1: Define Your Pillars and Themes for the Quarter
Before you open a spreadsheet, you need a foundation. Your content pillars are the 3-5 core topics that represent your brand, expertise, and audience needs. Every post you create should fall under one of these pillars.
How to Choose Your Pillars
- Educational: Teach your audience something valuable related to your niche (e.g., “SEO tips for freelancers”).
- Inspirational: Share stories, behind-the-scenes moments, or motivational content that humanizes your brand.
- Promotional: Announce offers, new products, or case studies—but keep this to 20% of your content.
- Community: Engage with user-generated content, polls, or Q&As to build relationships.
- Entertainment: Use humor, trends, or relatable memes that align with your brand voice.
Once you have your pillars, break the 90 days into three monthly themes. For example:
- Month 1: “Foundation” – teaching basics and building trust.
- Month 2: “Growth” – sharing advanced tips and client success stories.
- Month 3: “Launch” – promoting a new product or service with urgency.
This structure gives your audience a reason to follow along every week. As you work through how to create a 90 day content calendar, you’ll find that themes make idea generation infinitely easier.
Step 2: Map Out Key Dates, Launches, and Milestones
A calendar is only useful if it reflects reality. Grab a physical calendar or open a digital planner and mark down every important date for the next three months:
- Product or service launches
- Webinars or live events
- Industry holidays or awareness days
- Client deadlines or seasonal trends
- Personal milestones (e.g., work anniversaries, podcast appearances)
For each date, ask: What content can I create that adds value around this event? For example, if you’re launching a new course in 60 days, you’ll want teaser posts, testimonials, countdowns, and a launch day announcement spread across the weeks leading up.
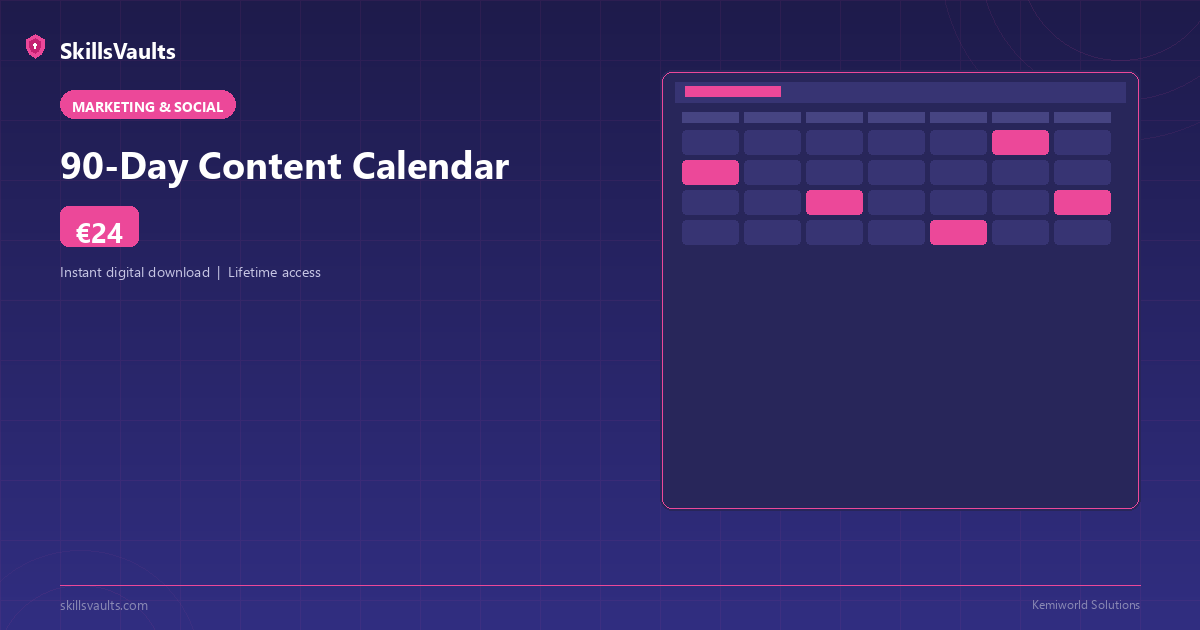
This is also the perfect moment to plug in pre-built assets. If you’re looking for a framework that already has the structure done for you, the 90-Day Content Calendar from SkillVault is designed exactly for this process. It comes with editable templates, post prompts, and a scheduling system that saves you hours of setup time.
Step 3: Create Your Content Buckets and Post Mix
Now it’s time to get tactical. For each week of your 90-day plan, decide how many posts you’ll publish per platform and what format each will take. A balanced week might look like this:
- Monday: Educational carousel (e.g., “5 Steps to…”)
- Wednesday: Behind-the-scenes video (e.g., “A day in my workflow”)
- Friday: Client testimonial or user-generated content
- Saturday: Engaging question or poll
Use a content bucket system to ensure variety. For example, assign each week a primary format:
- Week 1: Carousels and infographics
- Week 2: Short-form video (Reels/TikTok/Shorts)
- Week 3: Long-form text (LinkedIn posts or Twitter threads)
- Week 4: Live video or audio content
This rotation keeps your feed fresh and lets you test what resonates most with your audience. When you’re learning how to create a 90 day content calendar, remember that consistency matters more than perfection. It’s better to post three high-quality pieces per week than to burn out trying to post daily.
Step 4: Batch Write, Design, and Schedule Everything
The real magic of a 90-day plan happens during batch creation. Dedicate one full day (or two half-days) per month to produce all your content in advance. Here’s a realistic workflow:
Batch Creation Checklist
- Write captions first: Open your calendar and draft all captions for the next 30 days. Keep them in a single document.
- Design visuals: Use tools like Canva or Adobe Express to create all graphics, carousels, and video thumbnails at once.
- Record videos: Film all your Reels, TikToks, or LinkedIn videos in one session. Use a simple script or bullet points to stay on track.
- Schedule with a tool: Upload everything to a scheduler like Later, Buffer, or Hootsuite. Set posting times based on when your audience is most active.
This approach eliminates the daily “what do I post?” panic. It also frees up mental energy to engage with comments, reply to DMs, and pivot if something isn’t working.
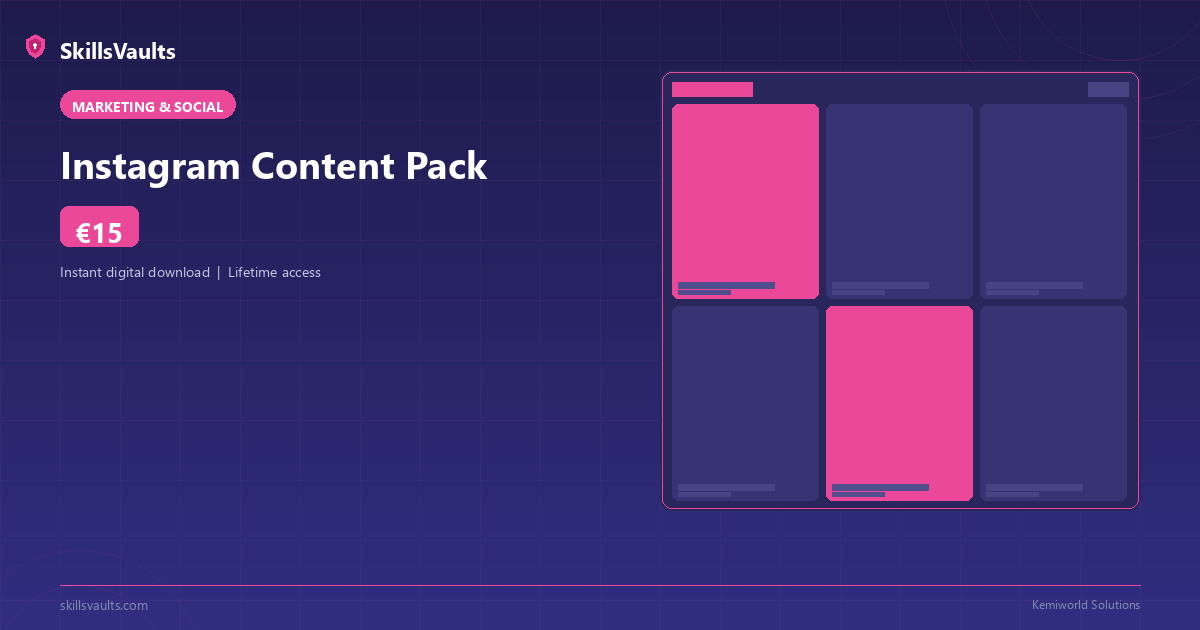
If you’re focusing heavily on Instagram, the Instagram Content Pack from SkillVault includes ready-to-use templates, caption formulas, and story ideas that plug directly into your 90-day calendar. It’s a huge time-saver for visual-heavy planning.
Step 5: Optimize for Each Platform’s Unique Rhythm
A 90-day content calendar isn’t one-size-fits-all. Each social platform has its own best practices, audience expectations, and content formats. Here’s how to adapt your plan:
- Focus on: Reels, carousels, and Stories.
- Key metrics: Saves, shares, and profile visits.
- Content tip: Use the first 3 seconds of a Reel to hook viewers. Carousels should have a clear “save this for later” value.
- Focus on: Long-form text posts, PDF carousels, and thought leadership.
- Key metrics: Comments, reposts, and connection requests.
- Content tip: Share personal stories and actionable insights. LinkedIn rewards authenticity and depth over polish.
TikTok
- Focus on: Trending sounds, quick tutorials, and behind-the-scenes.
- Key metrics: Watch time and completion rate.
- Content tip: Jump on trends early but always tie them back to your niche.
Twitter/X
- Focus on: Threads, polls, and quick tips.
- Key metrics: Retweets and engagement rate.
- Content tip: Use threads to break down complex topics into bite-sized pieces.
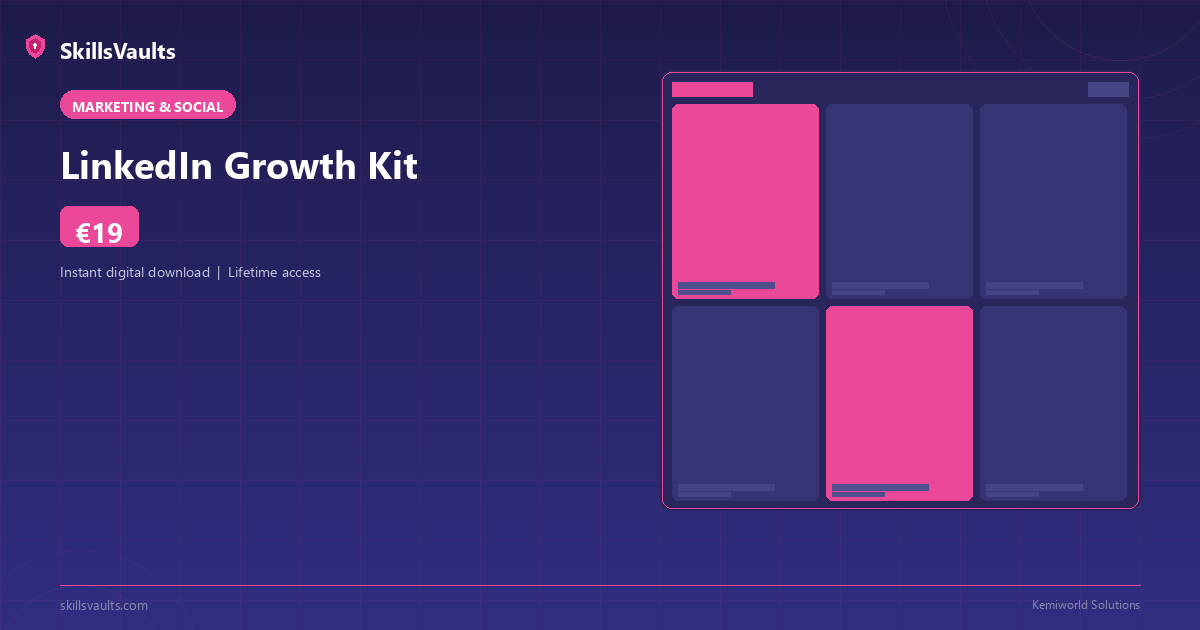
For professionals who want to dominate LinkedIn, the LinkedIn Growth Kit provides a full suite of templates, post ideas, and a scheduling framework that aligns perfectly with a 90-day strategy. It’s especially useful if you’re building authority in a B2B space.
Step 6: Build in Review and Adjustment Points
A 90-day calendar is a living document. Without regular check-ins, you risk sticking to a plan that isn’t working. Schedule three review points:
- Day 30: Look at your analytics. Which posts got the most engagement? Which formats flopped? Adjust the next 60 days accordingly.
- Day 60: Double-check your upcoming themes. Are they still relevant? Have any new trends or news emerged that you should address?
- Day 85: Start planning your next 90-day calendar. Use learnings from this quarter to refine your pillars and post mix.
During these reviews, ask yourself:
- Are we hitting our engagement goals?
- Is the audience growing?
- Do we have enough content in the pipeline for upcoming launches?
If you notice a platform isn’t performing, don’t be afraid to cut it or reduce frequency. Quality on two platforms beats mediocrity on five.
Step 7: Use Templates and Systems to Stay Consistent
The hardest part of how to create a 90 day content calendar isn’t the initial setup—it’s maintaining the habit. That’s why using templates and systems is non-negotiable for long-term success.
Recommended Systems
- Content batching system: Use a Trello board or Notion database to track ideas, drafts, and scheduled posts.
- Caption templates: Create 3-4 frameworks (e.g., “The Hook + The Problem + The Solution + The CTA”) and rotate them.
- Visual templates: Design a master template for carousels, quotes, and videos so you can swap text without redesigning.
- Analytics dashboard: Use native analytics or a tool like Metricool to track performance without manual spreadsheets.
The 90-Day Content Calendar from SkillVault already includes all these systems in one download. It gives you the structure without the guesswork, so you can focus on creating content that actually converts.
Common Pitfalls to Avoid When Planning 90 Days Ahead
Even with a solid plan, mistakes happen. Here are the most common ones I see:
- Overplanning: Don’t schedule every single detail. Leave 20% of slots open for reactive content (trends, news, audience questions).
- Ignoring analytics: If a post type bombs, don’t keep using it just because it’s in the calendar. Kill it and replace it.
- Forgetting to repurpose: A great LinkedIn post can become a Twitter thread, an Instagram carousel, and a TikTok video. Don’t start from scratch every time.
- Neglecting Stories: Stories are perfect for real-time engagement. Plan your grid posts, but leave Stories flexible for daily interaction.
When you master how to create a 90 day content calendar, you’ll naturally avoid these pitfalls because your system will have built-in flexibility.
Real-World Example: A Freelance Graphic Designer’s 90-Day Plan
Let’s see how this comes together in practice. Imagine Sarah, a freelance graphic designer specializing in brand identity.
Pillars: Education (design tips), Inspiration (portfolio work), Promotion (packages), Community (client stories).
Monthly Themes:
- Month 1: “Design Fundamentals” – teach basics like color theory and typography.
- Month 2: “Client Transformations” – showcase before/after projects and testimonials.
- Month 3: “Book a Brand Package” – launch a limited-time offer with urgency.
Weekly Post Mix:
- Monday: Carousel on “5 Logo Mistakes to Avoid”
- Wednesday: Reel showing her design process
- Friday: Client testimonial graphic
- Saturday: Poll: “What’s your biggest design challenge?”
Sarah batches all her content on the first weekend of each month. She uses the Instagram Content Pack for her visuals and the LinkedIn Growth Kit to repurpose her client stories into thought leadership posts. By day 30, she sees a 40% increase in profile visits and three new client inquiries.
That’s the power of a well-executed 90-day plan.
Conclusion: Stop Planning Weekly, Start Winning Quarterly
How to create a 90 day content calendar isn’t just about organization—it’s about reclaiming your time, reducing stress, and building a social media presence that works for your business, not against it. When you plan three months at a time, you stop reacting to the algorithm and start directing your own narrative. You become a leader in your niche, not just another voice in the noise.
The best part? You don’t have to build this from scratch. The 90-Day Content Calendar from SkillVault gives you a done-for-you framework that includes prompts, templates, and a scheduling system. Pair it with the Instagram Content Pack and LinkedIn Growth Kit to cover all your bases across platforms.
Your next 90 days are waiting. Grab the calendar, batch your content, and watch your engagement—and your business—grow.